Are you ready?
Indian Market has been drastically changed after Covid-19

20000+ STUDENTS TRUST OUR ONLINE COURSES

Buy Now @ Rs. 999

ThinkNEXT Awards and Achievements

90% OFF on Catia Online COURSE


Online Course from 4 Times National Award Winner Company

Six Weeks Summer Training in Chandigarh
45 Weeks Summer Training in Chandigarh
6 Weeks Summer Training in Chandigarh
3 months industrial training in chandigarh

India's

Most Trending

biggest and life changing

CATIA Online Course

Buy Now @ Rs. 999

ABOUT COURSE

LANGUAGE

HINDI

COMMUNITY SUPPORT

LIFETIME

COURSE VALIDITY

LIFETIME ACCESS


ALL FUTURE COURSE UPDATES FREE FOR LIFETIME

MODE

PRERECORDED VIDEOS (50+)

OFFER PRICE

RS. 9990/-

RS. 999/-

Course Modules


Free Ebooks in web designing course
Free-Ebooks
Doubt Session web designing course
Doubt Session
Interview Preparation web designing course
Interview Preparation
Doubt Session web designing course
10+ Projects
Interview Preparation web designing course
Life-Time Access
Free Ebooks in web designing course
QUIZ
Doubt Session web designing course
Free Software Tools
Interview Preparation web designing course
Chat/Phone/Email Support
Interview Preparation web designing course
VIP FACEBOOK GROUP FOR PLACEMENTS

Become Eligible for

Job, Freelancing, Business etc.

Buy Now @ Rs. 999

YOU'LL GET CERTIFICATE AFTER COURSE COMPLETION


Offer Ending Soon

Days

Hours


Minutes

Seconds


Buy Now @ Rs. 999

WHY THINKNEXT FOR ONLINE CATIA COURSE

Online CATIA Course from 4 times National Level Award Winner Company

4 Times National Level Award Winning Institute: ThinkNEXT is the winner of National Icon Award 2018, Asia Quality and Entrepreneurship Award 2019, Leadership Award 2019, National Gratitude Award 2020

Already 100+ Students Enrolled.

All Future Course Updates and Improvement free of cost for lifetime.

Online CATIA Course from 8+ years old Company

Free-Ebooks for CATIA.

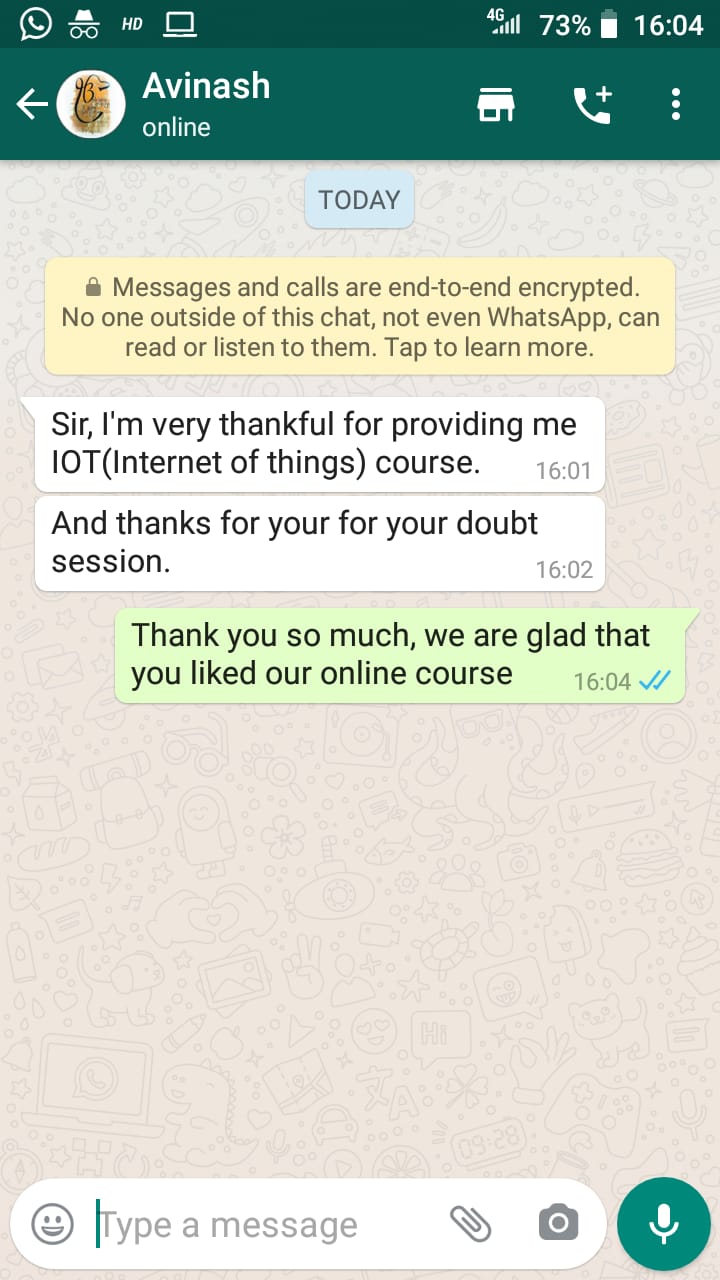
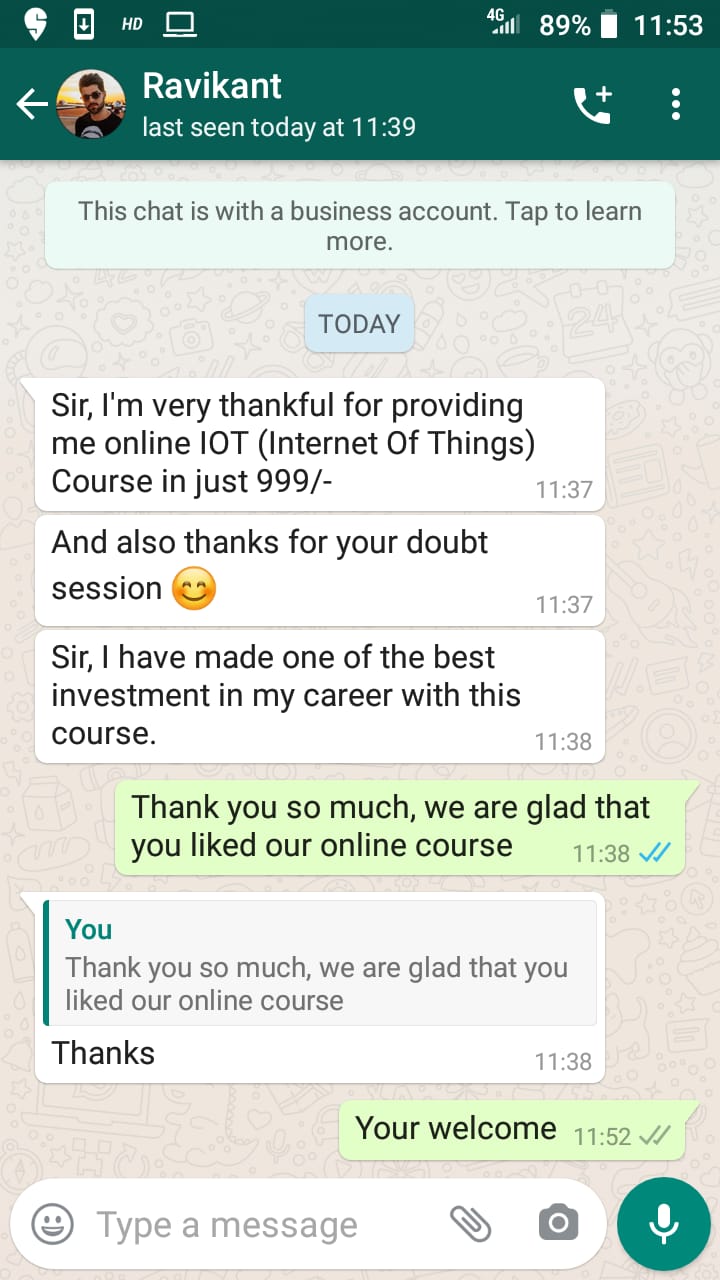
Doubts clearing support

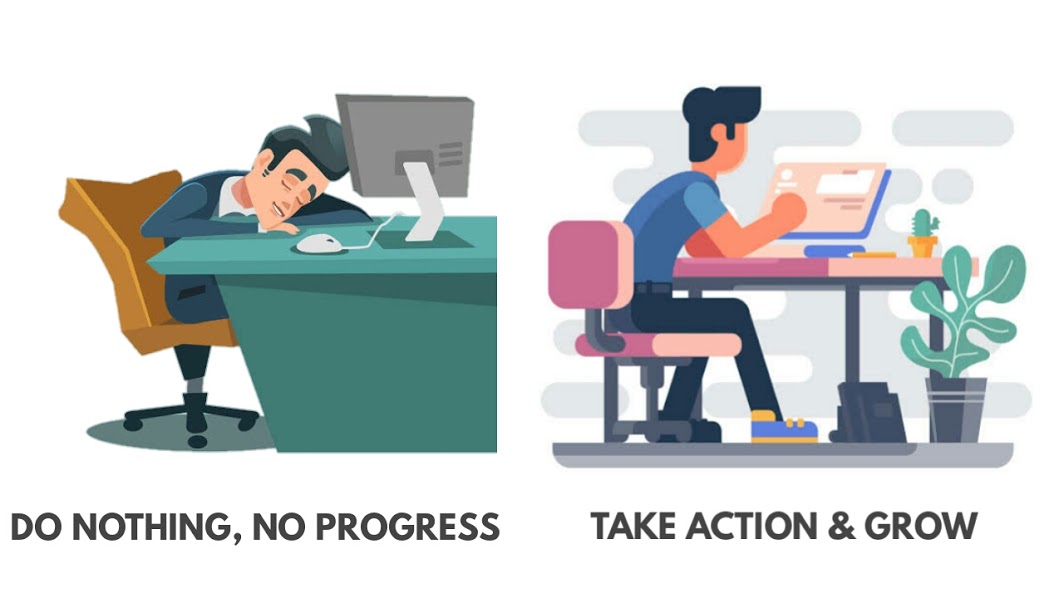
Starting from scratch. No technical knowledge required.

Fully responsive - mobile and desktop optimized

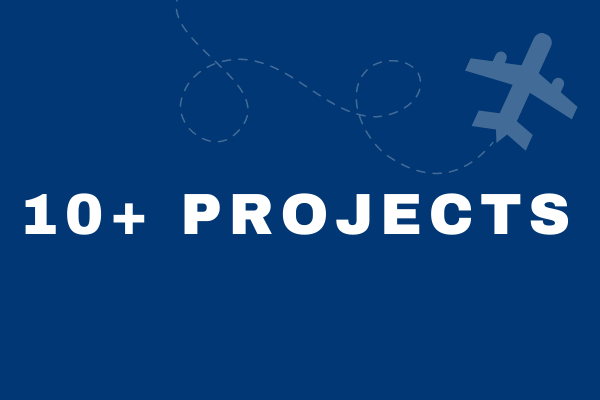
You can make your client's Projects.

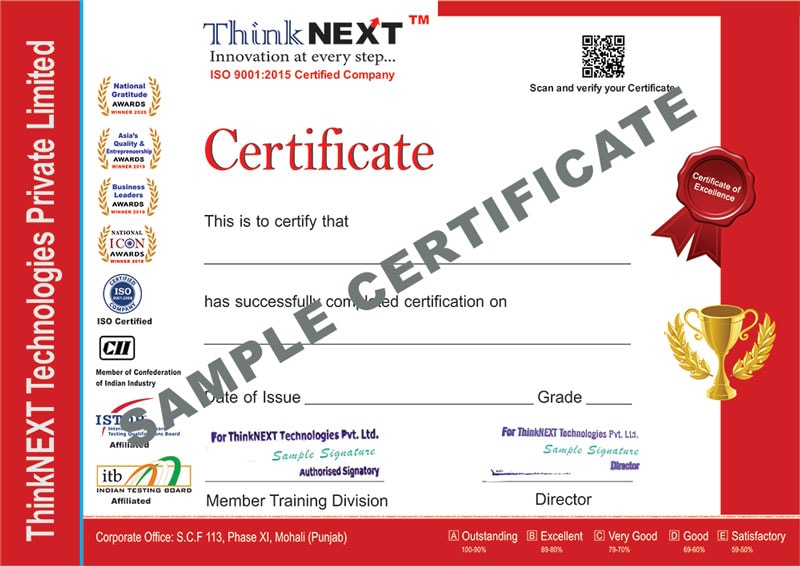
Certificate from ThinkNEXT after course completion

Become eligible for Job, Freelancing and Business

CATIA


INTRODUCTION TO CATIA
  • Introduction to CATIA
  • CATIA Workbenches
  • System Requirements
  • Getting Started with CATIA
  • Important Terms and Definitions
  • Understanding the Functions of the Mouse Buttons
  • Toolbars
  • Hot Keys
  • Color Scheme
DRAWING SKETCHES IN THE SKETCHER WORKBENCH
  • The Sketcher Workbench
  • Starting a New File
  • Invoking the Sketcher Workbench
  • Invoking the Sketcher Workbenc
  • h Using the Sketch Tool
  • Invoking the Sketcher Workbench Usi
  • ng the Positioned Sketch Tool
  • Setting the Sketcher Workbench
  • Modifying Units
  • Modifying the Grid Settings
  • Understanding Sketcher Terms
  • Specification Tree
  • Grid
  • Snap to Point
  • Construction/Standard Element
  • Select Toolbar
  • Inferencing Lines
  • Drawing Sketches Using Sketcher Tools
  • Drawing Lines
  • Drawing Center Lines
  • Drawing Rectangles, Oriented R
  • ectangles, and Parallelograms
  • Drawing Rectangles
  • Creating Points
  • Drawing Circles
  • Drawing Arcs
  • Drawing Profiles
  • Drawing Display Tools
  • Fit All In
  • Pan
  • Zoom In & Out
  • Zoom Area
  • Normal View
  • Splitting the Drawing Area into Multiple Viewports
  • Hiding and Showing Geometric Elements
  • Swapping Visible Space
DRAWING SKETCHES IN THE SKETCHER WORKBENCH
  • Other Sketching Tools in the Sketcher Workbench
  • Drawing Ellipses
  • Drawing Splines
  • Connecting Two Elements by a Spline or an Arc
  • Drawing Elongated Holes
  • Drawing Cylindrical Elongated Holes
  • Drawing Keyhole Profiles
  • Drawing Hexagons
  • Drawing Centered Rectangles
  • Drawing Centered Parallelograms
  • Drawing Conics
  • Editing and Modifying Sketches
  • Trimming Unwanted Sketched Elements
  • Extending Sketched Elements
  • Trimming by Using the Quick Trim Tool
  • Filleting Sketched Elements
  • Chamfering Sketched Elements
  • Mirroring Sketched Elements
  • Mirroring Elements without Duplication
  • Translating Sketched Elements
  • Rotating Sketched Elements
  • Scaling Sketched Elements
  • Offsetting Sketched Elements
  • Modifying Sketched Elements
  • Deleting Sketched Elements
CONSTRAINING SKETCHES AND CREATING BASE FEATURES
  • Constraining Sketches
  • Concept of Constrained Sketches
  • Iso-Constraint
  • Under-Constraint
  • Over-Constrained
  • Inconsistent
  • Not Changed
  • Applying Geometrical Constraints
  • Applying Geometrical Constraints Automatically
  • Applying Additional Constraints to the Sketch
  • Applying Dimensional Constraints
  • Applying Contact Constraints
  • Applying Fix Together Constraints
  • Applying Auto Constraints
  • Editing Multiple Dimensions
  • Analyzing and Deleting Over-Defined Constraints
  • Analyzing Sketch using the Sketch Analysis Tool
  • Exiting the Sketcher Workbench
  • Creating Base Features by Extrusion
  • Creating a Thin Extruded Feature
  • Extruding the Sketch Using the
  • Profile Definition Dialog Box
  • Extruding the Sketch along a Directional Reference
  • Creating Base Features by Revolving Sketches
  • Creating Thin Shaft Features
  • Dynamically Rotating the View of the Model
  • Rotating the View Using the Rotate Tool
  • Rotating the View Using the Compass
  • Modifying the View Orientation
  • Display Modes of the Model
  • Shading (SHD)
  • Shading with Edges, without Smooth Edges and Hidden Edges
  • Shading with Material
  • Wireframe (NHR)
  • Customize View Parameters
  • Creating Sections Dynamically
  • Maneuvering the Section Plane
  • Position of Section Planes
  • Assigning a Material to the Model
REFERENCE ELEMENTS A ND SKETCH-BASED FEATURES
  • Importance of Sketching Planes
  • Reference Elements
  • Reference Planes
  • Creating New Planes
  • Creating Points
  • Creating Reference Lines
  • Other Sketch-Based Features
  • Creating Drafted Filleted Pad Features
  • Creating Multi-Pad Features
  • Feature Termination Options
  • Creating Pocket Features
  • Creating Drafted Filleted Pocket Features
  • Creating Multi-Pocket Features
  • Creating Groove Features
  • Extruding and Revolving Planar and Non-planar Faces
  • Projecting 3D Elements
CREATING DRESS-UP AND HOLE FEATURES
  • Advanced Modeling Tools
  • Creating Hole Features
  • Creating Fillets
  • Creating Chamfers
  • Adding a Draft to the
  • Faces of the Model
EDITING FEATURES
  • Editing Features of a Model
  • Editing Using the Definition Option
  • Editing by Double-Clicking
  • Editing the Sketch of a Sketch-Based Feature
  • Redefining the Sketch Plane of Sketches
  • Deleting Unwanted Features
  • Managing Features and Sketches by using the Cut, Copy And Paste Functionalities
  • Understanding the Concept of Update Diagnosis
  • Cut, Copy, and Paste Features and Sketches
  • Copying Features Using Drag and Drop
  • Copying and Pasting Part Bodies
  • Deactivating Features
  • Activating Deactivated Features
  • Defining Features in Work Object
  • Reordering Features
  • Understanding the Parent-Child Relationships
  • Measuring Elements
  • Measuring between Elements
  • Measuring Items
  • Measuring Inertia
TRANSFORMATION FEATURES AND ADVANCED MODELING TOOLS-I
  • Transformation Features
  • Translating Bodies
  • Rotating Bodies
  • Creating Symmetry Features
  • Transforming the Axis System
  • Mirroring Features and Bodies
  • Creating Rectangular Patterns
  • Creating Circular Patterns
  • Creating User Patterns
  • Uniform Scaling of Model
  • Non-uniform Scaling of Model
  • Working with Additional Bodies
  • Inserting a New Body
  • Inserting Features in the New Body
  • Applying Boolean Operations to Bodies
  • Adding Stiffeners to a Model
  • Generating Solid Combine
ADVANCED MODELING TOOLS-II
  • Advanced Modeling Tools
  • Creating Rib Features
  • Creating Slot Features
  • Creating Multi-Sections Solid Features
WORKING WITH THE WIREFRAM E AND SURFACE DESIGN WORKBENCH
  • Need of Surface Modeling
  • Wireframe and Surface Design Workbench
  • Starting the Wireframe and Surface Design Workbench
  • Creating Wireframe Elements
  • Creating Circles
  • Creating Splines
  • Creating a Helix
  • Creating Surfaces
  • Creating Extruded Surfaces
  • Creating Revolved Surfaces
  • Creating Spherical Surfaces
  • Creating Cylindrical Surfaces
  • Creating Offset Surfaces
  • Creating Sweep Surfaces
  • Creating Fill Surfaces
  • Creating Multi-Sections Surfaces
  • Creating Blended Surfaces
  • Operations on Shape Geometry
  • Joining Surfaces
  • Splitting Surfaces
  • Trimming Surfaces
EDITING AND MODIFYING SURFACES
  • Surface Operations
  • Creating Projection Curves
  • Creating Intersection Elements
  • Healing Geometries
  • Disassembling Elements
  • Untrimming a Surface or a Curve
  • Creating Boundary Curves
  • Extracting Geometry
  • Transformation Features
  • Extrapolating Surfaces and Curves
  • Splitting a Solid Body with a Surface
  • Solidifying Surface Models
  • Adding Thickness to a Surface
  • Creating a Solid Body from a Closed Surface Body
  • Sewing a Surface to a Solid Body
ASSEMBLY MODELING
  • Assembly Modeling
  • Types of Assembly Design Approaches
  • Creating Bottom-up Assemblies
  • Inserting Components
  • in a Product File
  • Moving Individual Components
  • Applying Constraints
  • Creating Top-down Assemblies
  • Creating Base Part in the Top-Down Assembly
  • Creating Subsequent Components
  • in the Top-Down Assembly
  • Creating Subassemblies in the Top-Down Assembly
  • Editing Assemblies
  • Deleting Components
  • Replacing Components
  • Editing Components inside an Assembly
  • Editing Subassemblies inside an Assembly
  • Editing Assembly Constraints
  • Simplifying the Assembly
  • Interference Detection
  • Sectioning an Assembly
  • Exploding an Assembly
WORKING WITH THE DRAFTING WORKBENCH-I
  • The Drafting Workbench
  • Starting a New File in
  • the Drafting Workbench
  • Type of Views
  • Generating Drawing Views
  • Generating Views Automatically
  • Generating Individual Drawing Views
  • Generating the Exploded View
  • Working with Interactive Drafting in CATIA
  • Editing and Modifying Drawing Views
  • Changing the Scale of Drawing Views
  • Modifying the Project Plane of the Parent View
  • Deleting Drawing Views
  • Rotating Drawing Views
  • Hiding Drawing Views
  • Modifying the Hatch Pattern of Section Views
WORKING WITH THE DRAFTING WORKBENCH-II
  • Inserting Sheets in the Current File
  • Inserting the Frame and the Title Block
  • Automatic Insertion of the Frame and the Title Block
  • Creating the Frame and the Title Block Manually
  • Adding Annotations to the Drawing Views
  • Generating Dimensions
  • Adding Reference Dimensions
  • Adding Datum Features
  • Adding Geometric Tolerance to the Drawing Views
  • Adding Surface Finish Symbols
  • Adding Welding Symbols
  • Applying Weld
  • Editing Annotations
  • Generating the Bill of Material (BOM)
  • Generating Balloons
WORKING WITH SHEET METAL COMPONENTS
  • The Sheet metal Component
  • Starting a New File in Genera
  • tive Sheet Metal Workbench
  • Setting Sheet Metal Parameters
  • Parameters Tab
  • Bend Extremities Tab
  • Bend Allowance Tab
  • Introduction to Sheet Metal Walls
  • Creating the Base Wall
  • Creating the Wall on Edge
  • Creating Extrusions
  • Creating Swept Walls
  • Creating Flanges on the Sheet Metal Component
  • Creating Hems on the Sheet Metal Component
  • Creating a Tear Drop on the Sheet Metal Component
  • Creating a User Flange on
  • the Sheet Metal Component
  • Creating a Bend
  • Creating a Conical Bend
  • Bend From Flat
  • Creating Rolled Walls
  • Creating a Hopper Wall
  • Creating a Rolled Wall
  • Folding and Unfolding Sheet Metal Parts
  • Unfolding Sheet Metal Parts
  • Folding Unfolded Parts
  • Mapping the Geometry
  • Creating Flat Patterns of
  • Sheet Metal Components
  • Viewing a Sheet Metal Compone
  • nt in Multiple Windows
  • Using Views Management
  • Stamping
  • Creating a Surface Stamp
  • Creating a Bead Stamp
  • Creating a Curve Stamp
  • Creating a Flanged Cut out Stamp
  • Creating a Louver Stamp
  • Creating a Bridge Stamp
  • Creating a Flanged Hole Stamp
  • Creating a Circular Stamp

Reviews from Students

Whatsapp icon
Whatsapp icon
Whatsapp icon

ITS DECISION TIME

Buy Now @ Rs. 999

FAQ'S


Ans. You can use Credit Card, Debit Card, Net Banking, Paytm, PhonePe, Google Pay, UPI to make purchase of this course. Click on Buy Now at this Webpage and make Payment. After making payment, instantly you will get Login Details at your registered Email ID to access this course

Ans. Yes.

Ans. You will get lifetime access to all of these courses with all free future updates/upgrades.

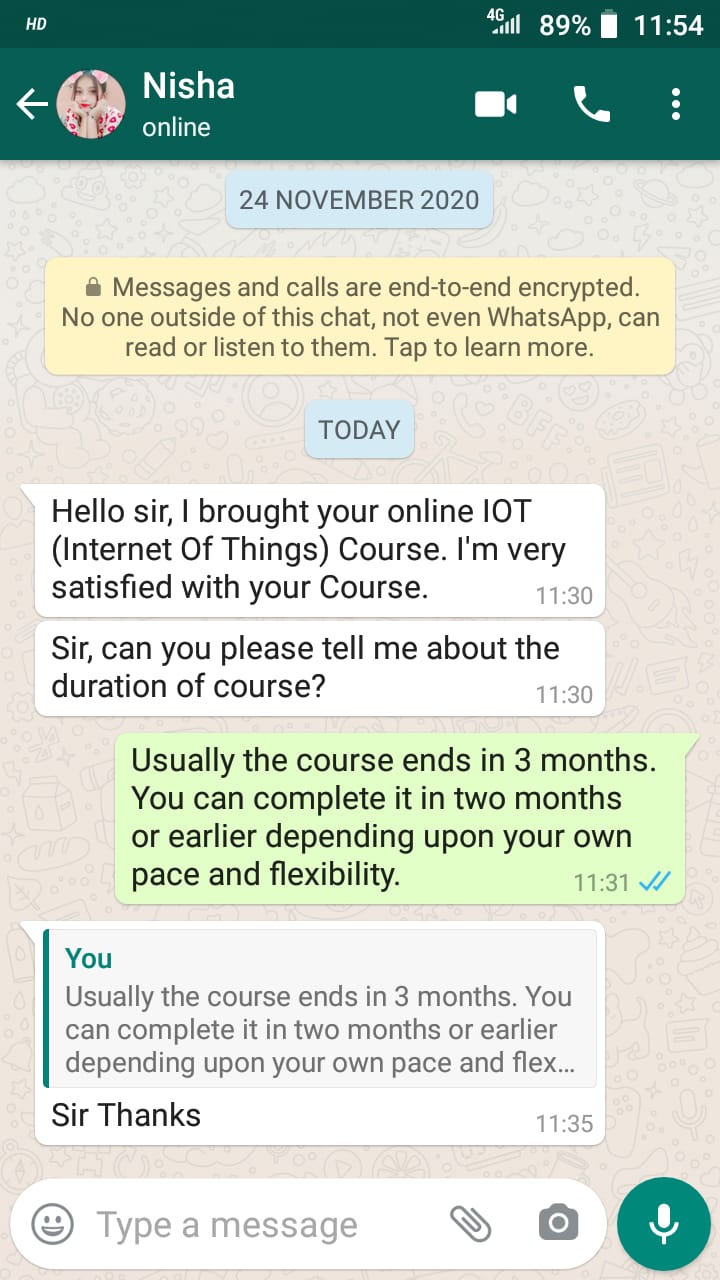
Ans. Usually the course ends in 2 months. You can complete it in two months or earlier depending upon your own pace and flexibility.

Ans. After making the payment, you will receive the login details of your course on your registered email id within 2 minutes. You can instantly begin with your course. This Course can be run on Laptop/PC, Mobile or Tablet etc.

Ans. The course is conducted in Hindi Language with more than 50+ Videos. You will really find it easy to learn and enjoy the contents since they are designed with simple yet in-depth explanations..

Ans. You will be provided Chat (on WhatsApp/Telegram), Phone and Email Support for resolving your Doubts and Queries.

Ans. No additional/hidden charge. The certification is free of cost.

The more you'll wait, others will replace you in the industry

DON'T WASTE TIME GET IT NOW HURRY!

Every Opportunity Knocks Your Door Only Once Don't Miss This Opportunity

100% Refund Policy

Buy with Confidence


90% OFF

Actual Price Rs. 9990

All rights reserved to ThinkNEXT Technologies Pvt. Ltd.

Refund Policy: Only in case of content is not correct refund can be claimed.

Whatsapp icon

Mr. Adil
From Chandigarh has just purchased CATIA Course
1 hours ago